
Once the concrete is poured and leveled, allow the forms to remain in place until the concrete reaches at least 500 psi, typically after 24-48 hours. Premature removal can lead to cracking or deformation. After curing, carefully dismantle the forms, starting from one end to avoid.
Pour concrete into the foundation pit, ensuring its strength grade meets design requirements (typically no less than C20). During concrete pouring, ensure thorough compaction to guarantee foundation.
How to pour concrete footings and piers, with step-by-step instructions for building a form and ready-made concrete pier options. Waxed fiber tubes, readily available at home improvement centers and lumberyards, make forming and pouring footings and piers a.

Professional solar installation requires 12 sequential steps: site survey, permitting, structural assessment, mounting, panel fixing (torque to spec), DC wiring, inverter commissioning, AC connection, earthing, IEC 62446 tests (IV curve, insulation resistance, continuity).
Master the critical solar panel mounting bracket installation process-laying the foundation for a safe, efficient, and durable PV system! This short covers key engineering steps: preparing the installation site (ground excavation for concrete footings or roof.
The fabrication process of photovoltaic brackets follows a precision-engineered workflow on the production line, encompassing decoiling, flattening, precision punching, roll forming, and cut-to-length operations-all integrated to achieve consistent, high-quality output.
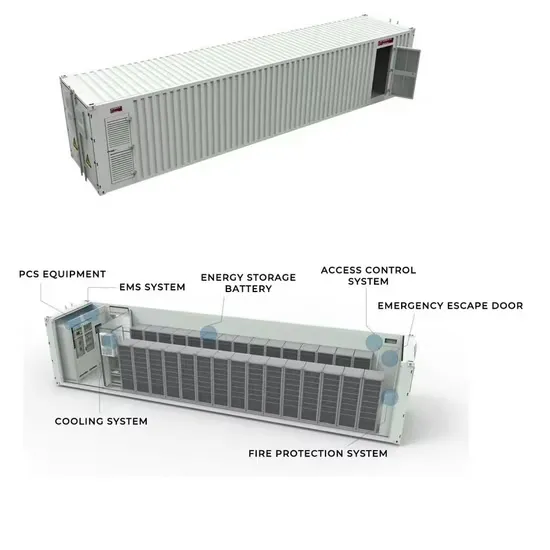
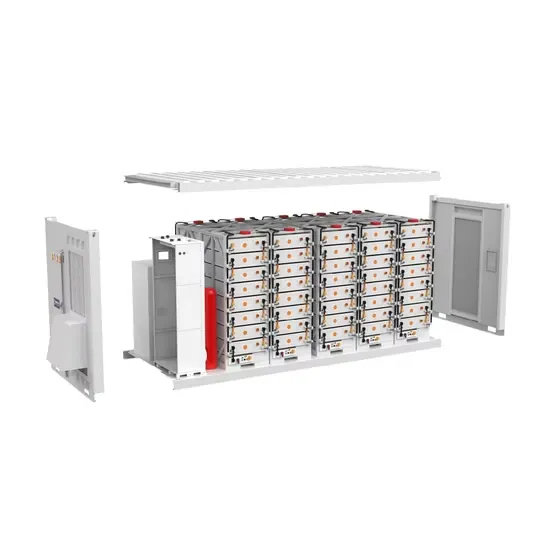
AGRI-PV SYSTEMS delivers photovoltaic containers, energy storage containers, solar water pumping systems, and complete agrivoltaic irrigation solutions. Request a free consultation and get a custom quote for your agricultural project — from small off-grid pumping to large-scale solar irrigation.
Have questions about photovoltaic containers, solar water pumping, energy storage containers, or agrivoltaic irrigation? Reach out – our agricultural solar experts are ready to assist.