
Always use #6 AWG bare copper wire for outdoor grounding to meet National Electric Code requirements and pass inspections. This simple yet critical detail can save you time, money, and headaches down the road.
In this guide, we'll walk you through the ins and outs of solar panel grounding, covering everything from basic concepts to step-by-step instructions. The most important takeaway? Always use #6 AWG bare copper wire for outdoor grounding to meet National Electric Code requirements.
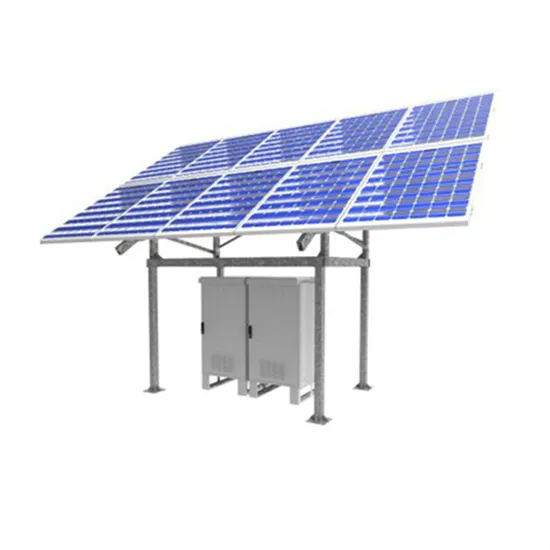
This is the detailed solar panel connection diagram that shows how the system is actually wired, including conductor routing, terminations, and install-level details the crew needs to build it correctly.
In this guide, we will walk you through the step-by-step process of how to install solar light at home, covering everything from selecting the right location and choosing appropriate fixtures to understanding the installation techniques and optimizing their performance.
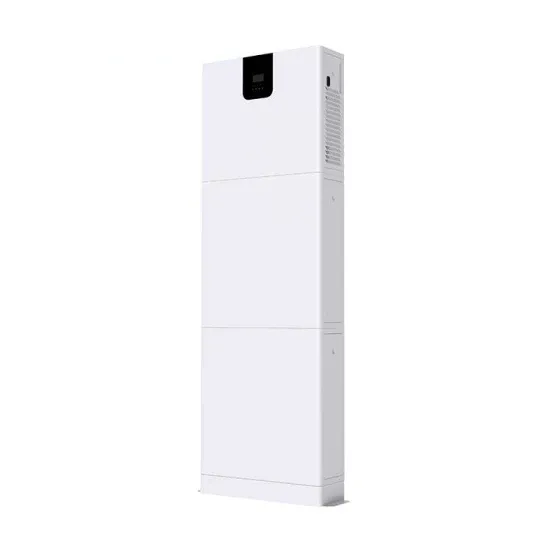
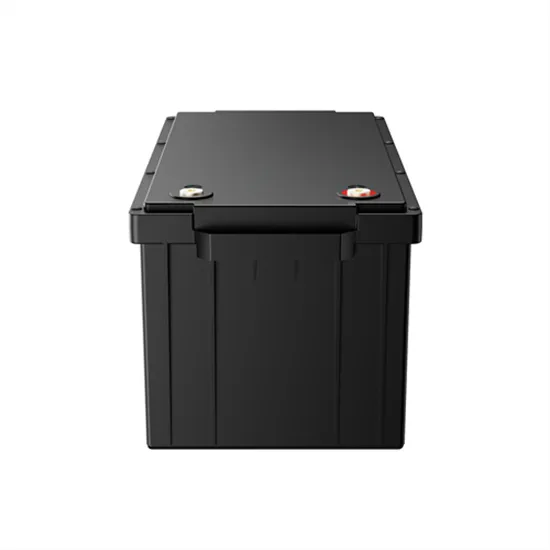
To connect a solar-powered lithium battery, follow these essential steps: 1) Choose the appropriate solar panel size and battery capacity to meet your energy needs, 2) Connect the solar panel to a charge controller, 3) Link the charge controller to the lithium.

Because between design, permitting, scheduling, installation, and final inspections, property owners can expect to wait 60-90 days, on average, before the panels can be switched on and their meters start spinning backward.
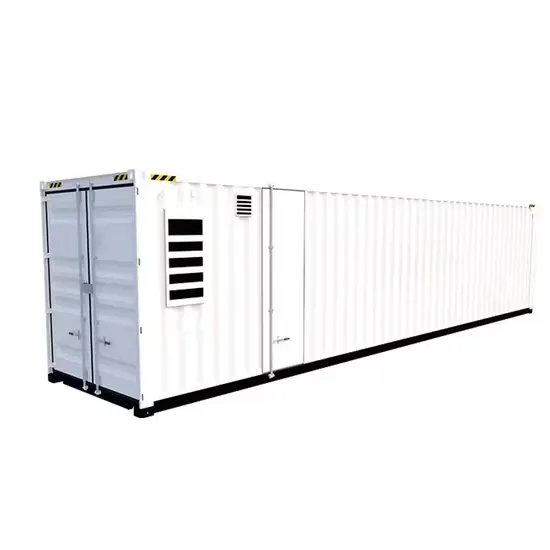
AGRI-PV SYSTEMS delivers photovoltaic containers, energy storage containers, solar water pumping systems, and complete agrivoltaic irrigation solutions. Request a free consultation and get a custom quote for your agricultural project — from small off-grid pumping to large-scale solar irrigation.
Have questions about photovoltaic containers, solar water pumping, energy storage containers, or agrivoltaic irrigation? Reach out – our agricultural solar experts are ready to assist.